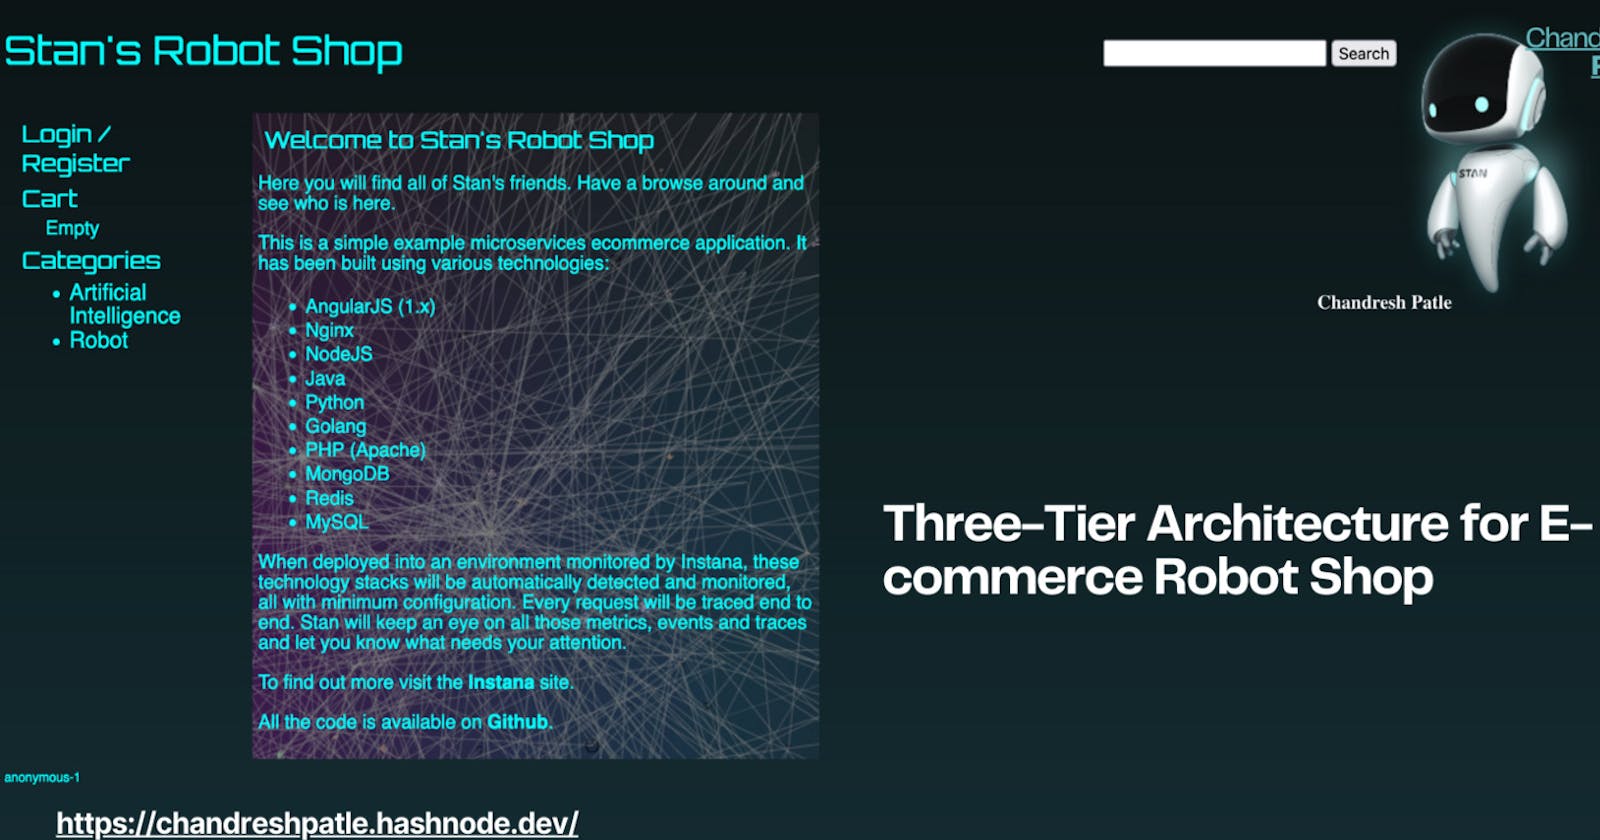


Overview
This guide outlines the architecture of an E-commerce Robot Shop, implemented using a three-tier architecture. The three tiers consist of the presentation layer, application layer, and data layer. The application is composed of multiple services that interact to provide a comprehensive e-commerce experience. Two databases are employed to store relevant data.
**
Step 1: Create an EC2 (Elastic Compute Cloud) instance on AWS:**
Go to the AWS Management Console and sign in with your AWS account credentials.
Once logged in, navigate to the EC2 Dashboard. You can find it under the "Services" drop-down or search for "EC2" in the AWS services search bar.
On the EC2 Dashboard, click the "Instances" link in the left navigation pane.
Click the "Launch Instance" button.
Select an AMI that suits your requirements. This is the base operating system for your instance. Click the "Select" button.
Select the instance type that meets your performance and resource requirements. Click the "Next: Configure Instance Details" button.
In the "Select an existing key pair or create a new key pair" dialog:
Choose an existing key pair or create a new one.
Acknowledge that you have access to the selected key pair.
Configure the number of instances, network settings, and other details according to your needs. Click the "Next: Add Storage" button.
Configure the storage settings for your instance. Click the "Next: Add Tags" button.
Add any tags to your instance for better organization and management (optional).
Click the "Next: Configure Security Group" button.
Configure the security group to control inbound and outbound traffic to your instance. Click the "Review and Launch" button.
You will see a confirmation screen. Click the "View Instances" button to go back to the Instances dashboard.
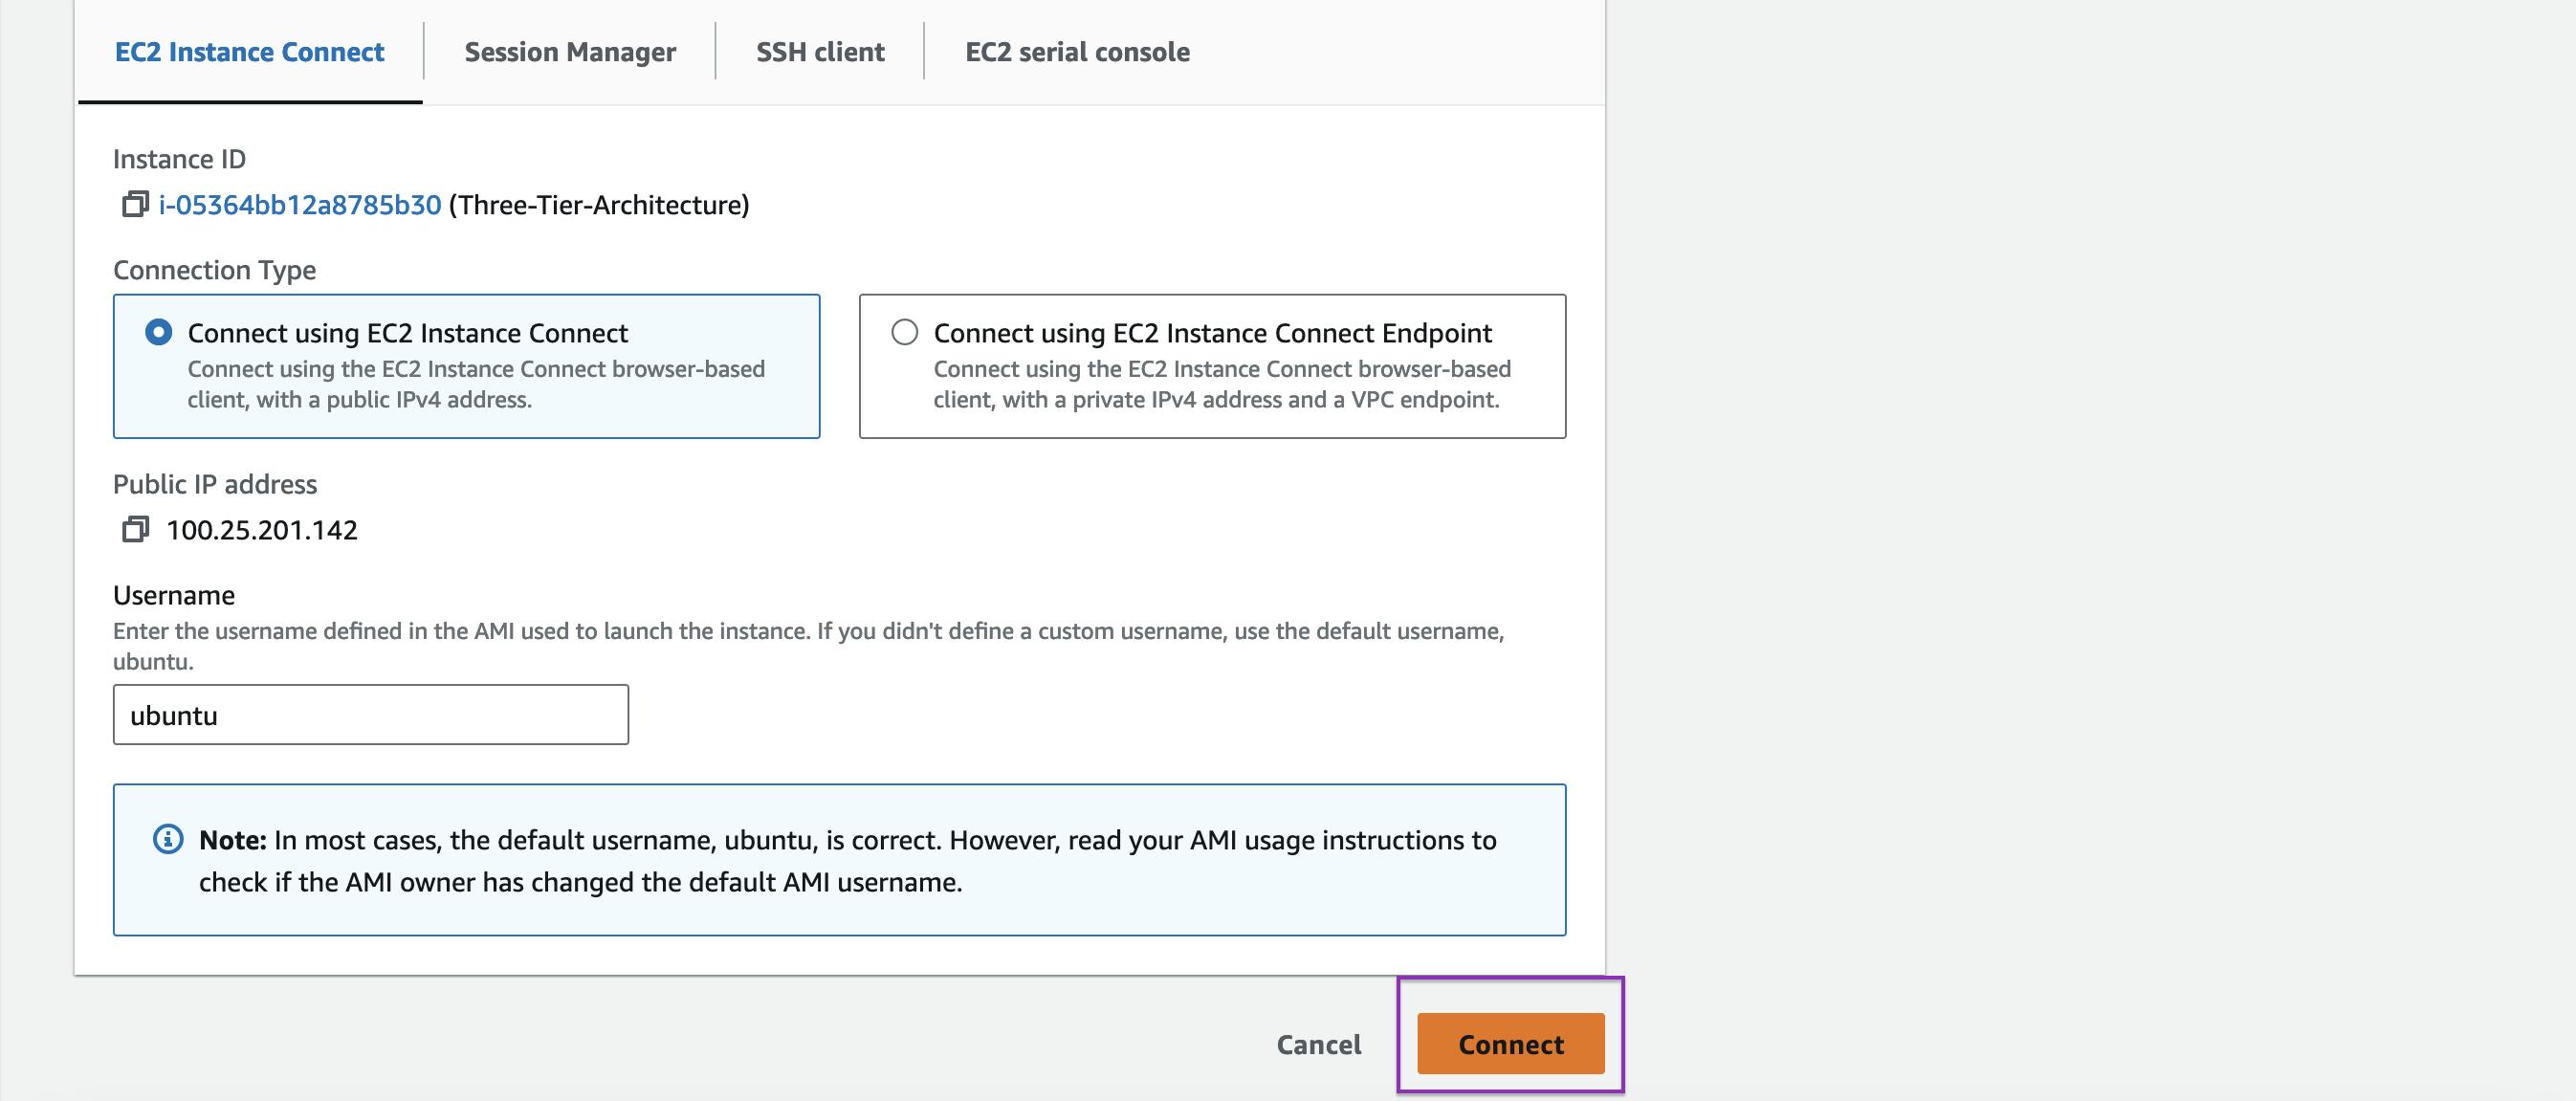
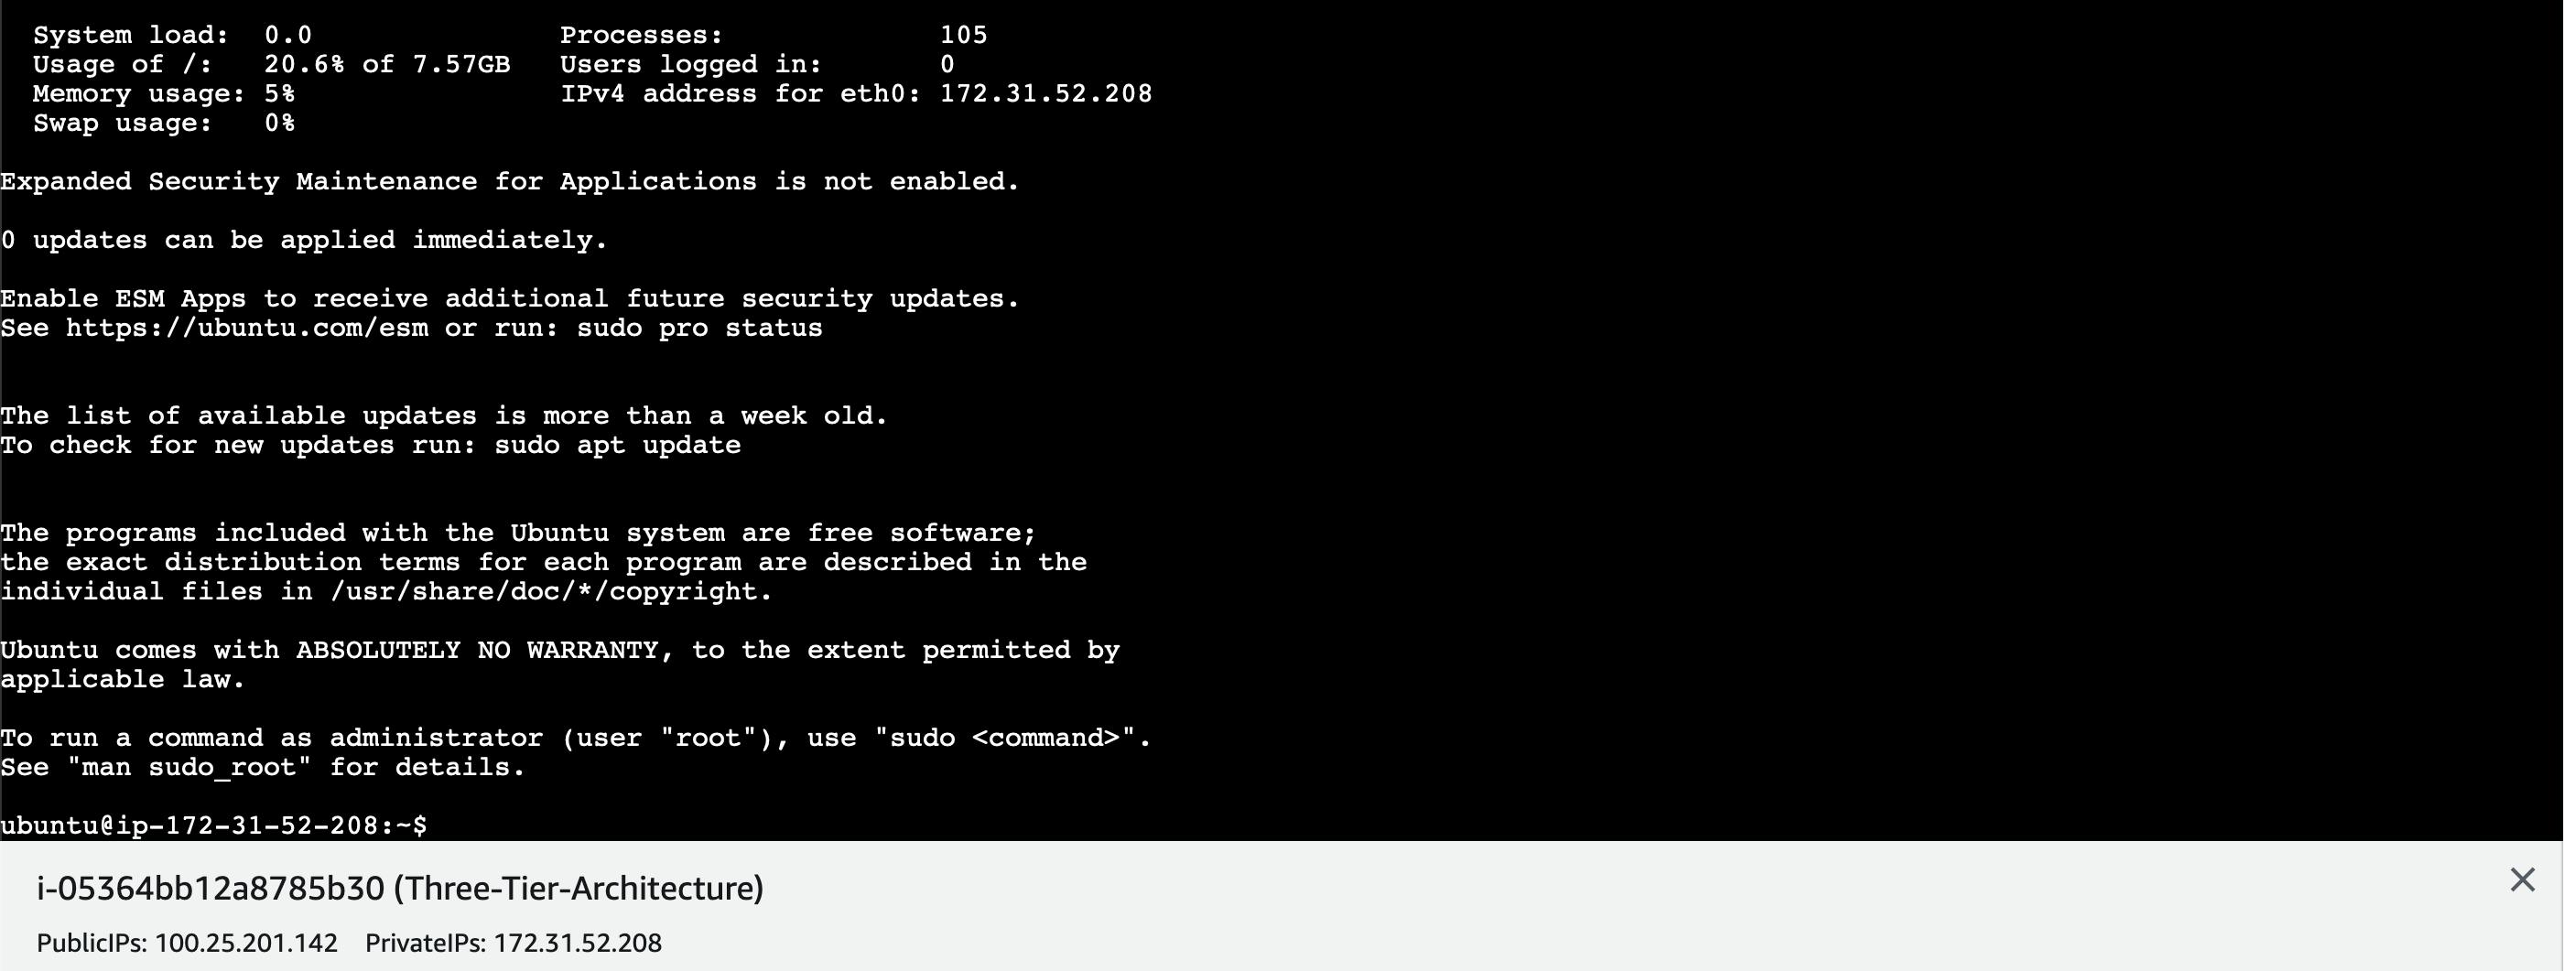
Once the instance state becomes "Running," you can connect to your instance using the key pair you selected during the launch.

Step 2: Connect to the EC2 Instance & Install the necessary packages
Connect to instance.
Install the necessary packages based on your application requirements:
To install
eksctl, the official command-line utility for Amazon EKS (Elastic Kubernetes Service), you can follow the steps below. These instructions assume you are using a Unix-like operating system (Linux or macOS).# Update the package list to ensure the latest package information is available sudo apt update # Download and extract the latest release of eksctl from GitHub, specifically for the architecture of the current system curl --silent --location "https://github.com/weaveworks/eksctl/releases/latest/download/eksctl_$(uname -s)_amd64.tar.gz" | tar xz -C /tmp # Move the eksctl binary from the temporary directory (/tmp) to the /usr/local/bin directory, making it globally accessible sudo mv /tmp/eksctl /usr/local/bin # Display the version of eksctl to confirm a successful installation eksctl version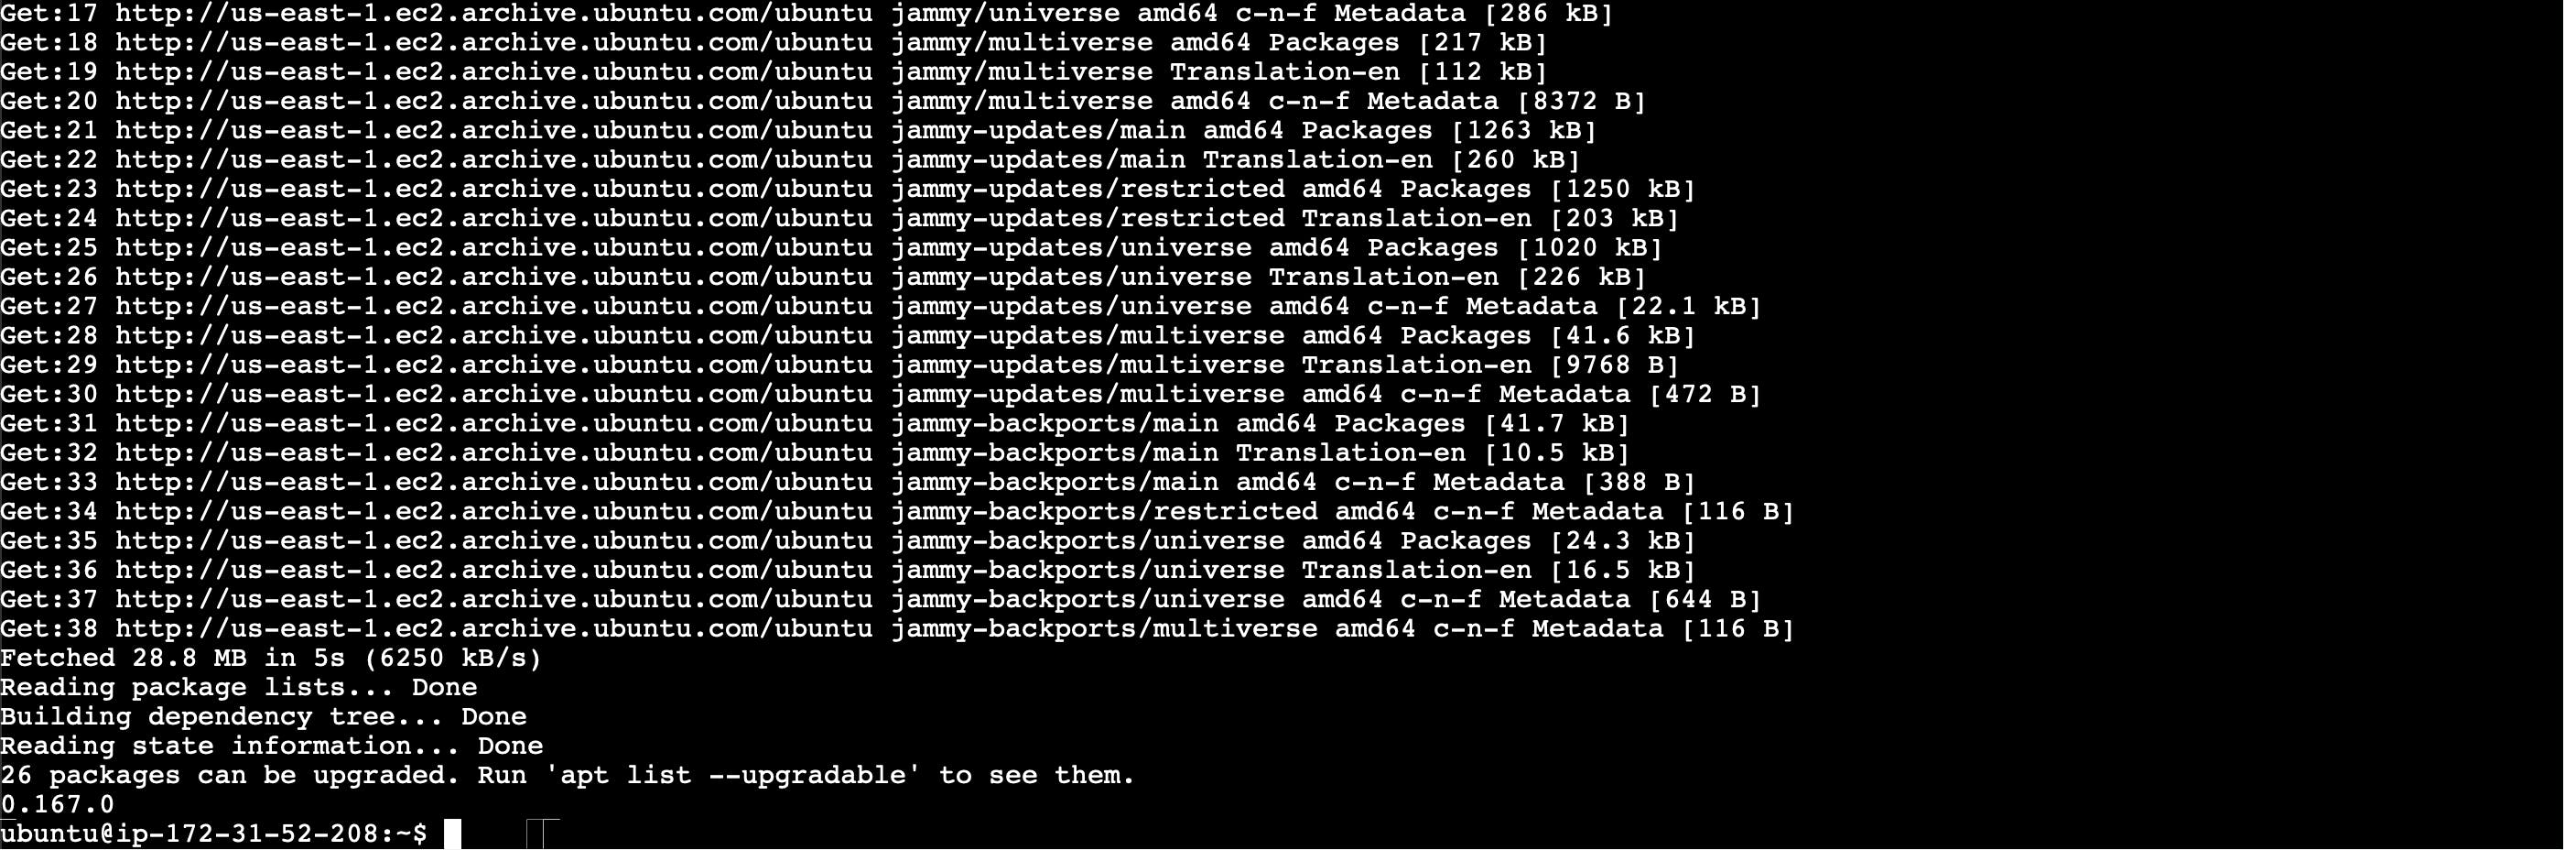
To install
kubectluse following commands:# Download the kubectl binary from the specified URL curl -O https://s3.us-west-2.amazonaws.com/amazon-eks/1.28.3/2023-11-14/bin/linux/amd64/kubectl # Make the downloaded kubectl binary executable chmod +x ./kubectl # Create a bin directory in the user's home directory if it doesn't exist mkdir -p $HOME/bin # Copy the kubectl binary to the user's bin directory cp ./kubectl $HOME/bin/kubectl # Add the user's bin directory to the PATH environment variable export PATH=$HOME/bin:$PATH # Verify the installation by checking the client version of kubectl kubectl version --client
Install the AWS Command Line Interface (CLI):
To install
eksctl, the official command-line utility for Amazon EKS (Elastic Kubernetes Service), you can follow the steps below. These instructions assume you are using a Unix-like operating system (Linux or macOS).# Update the local package list to ensure that the latest information about available packages is obtained. sudo apt update # Install the AWS Command Line Interface (CLI) using the package manager. sudo apt install awscli # Verify the installed AWS CLI version to ensure a successful installation. aws --version # Configure the AWS CLI by providing AWS Access Key ID, Secret Access Key, default region, and output format. aws configure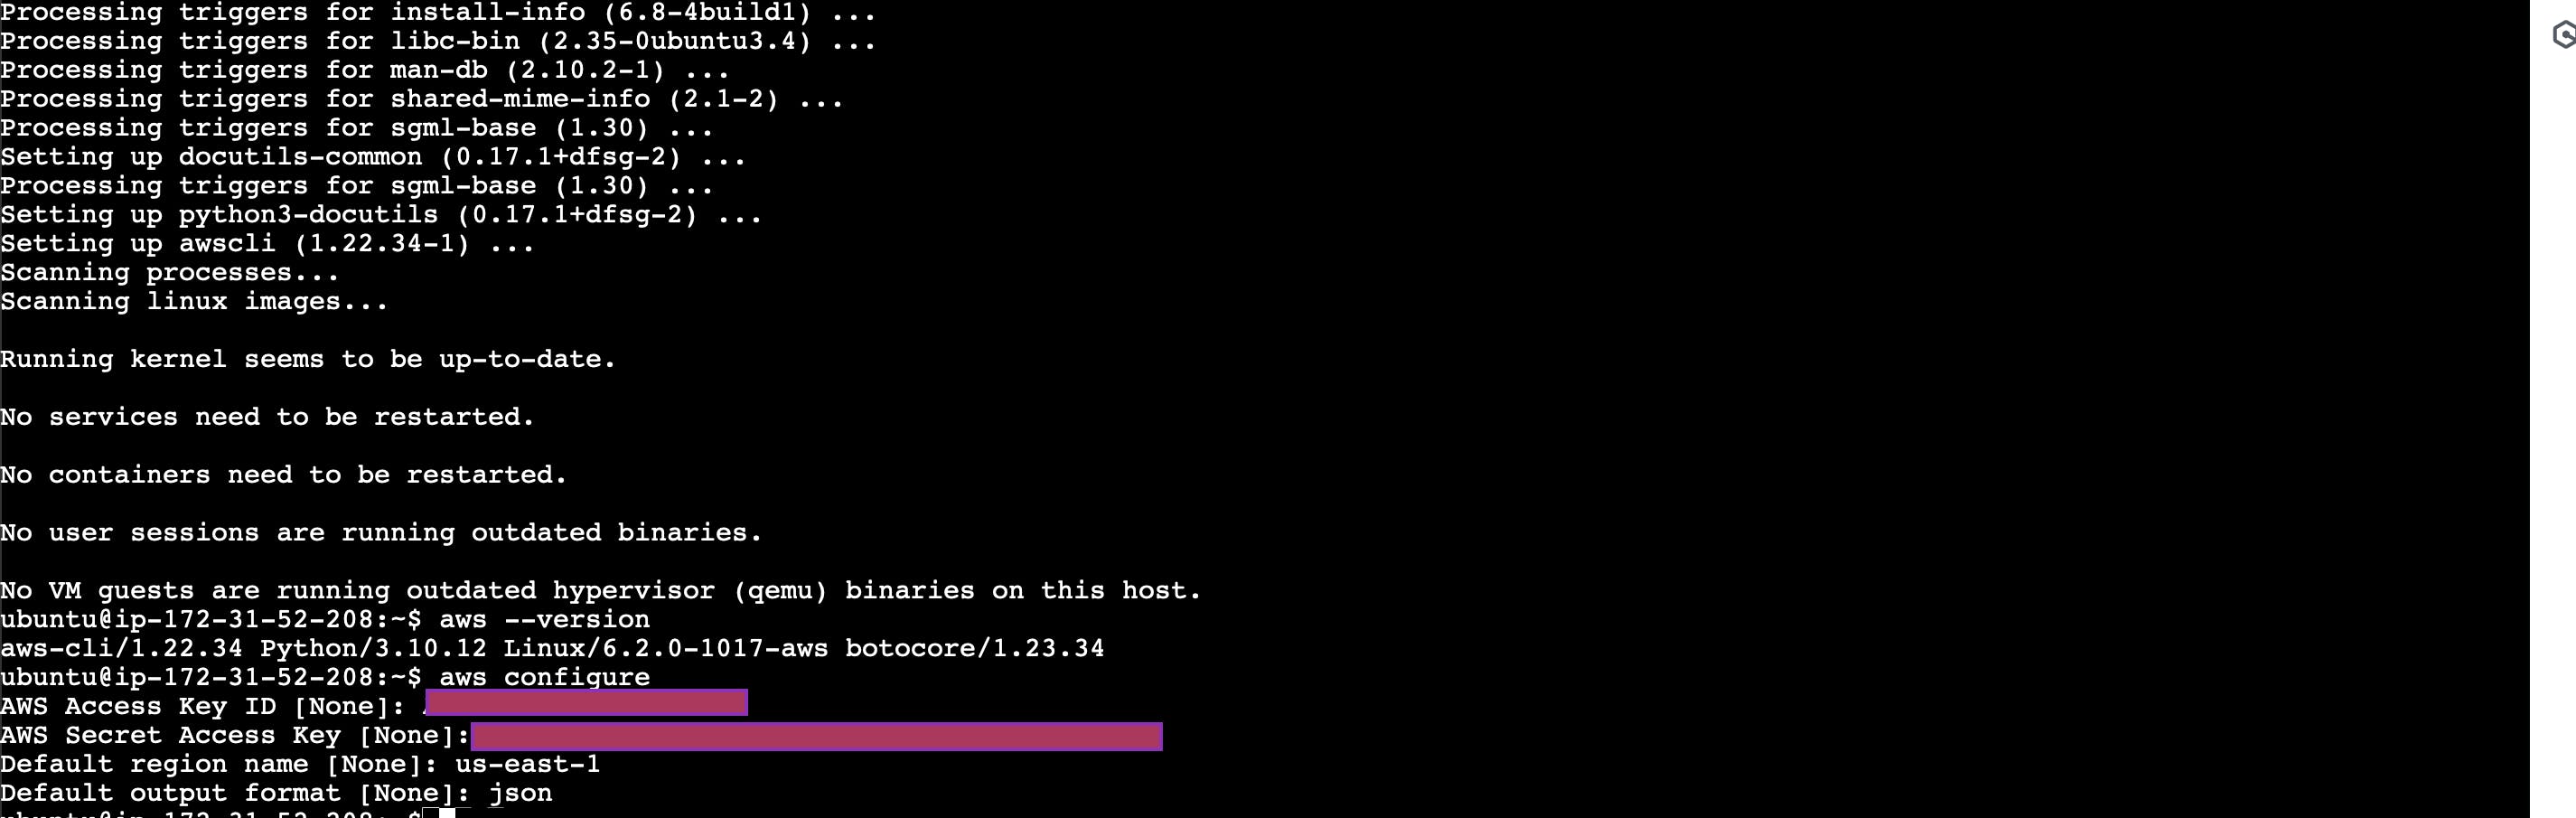
Install Helm:
Run the following command to download the Helm installation script:
  # Download the Helm installation script from the Helm GitHub repository.
  curl -fsSL -o get_helm.sh https://raw.githubusercontent.com/helm/helm/main/scripts/get-helm-3

  # Make the downloaded script executable.
  chmod 700 get_helm.sh

  # Execute the Helm installation script to install Helm on your system.
  ./get_helm.sh
Use the
git clonecommand, providing the URL of the GitHub repository. Replace<repository-url>with the actual URL of the repository you want to clone:Run the following command to cloned repository 3Tier-Robot-shop:
  # Clone the GitHub repository with the given URL
  git clone https://github.com/Aj7Ay/3Tier-Robot-shop.git

  # Change the current working directory to the cloned repository
  cd 3Tier-Robot-shop
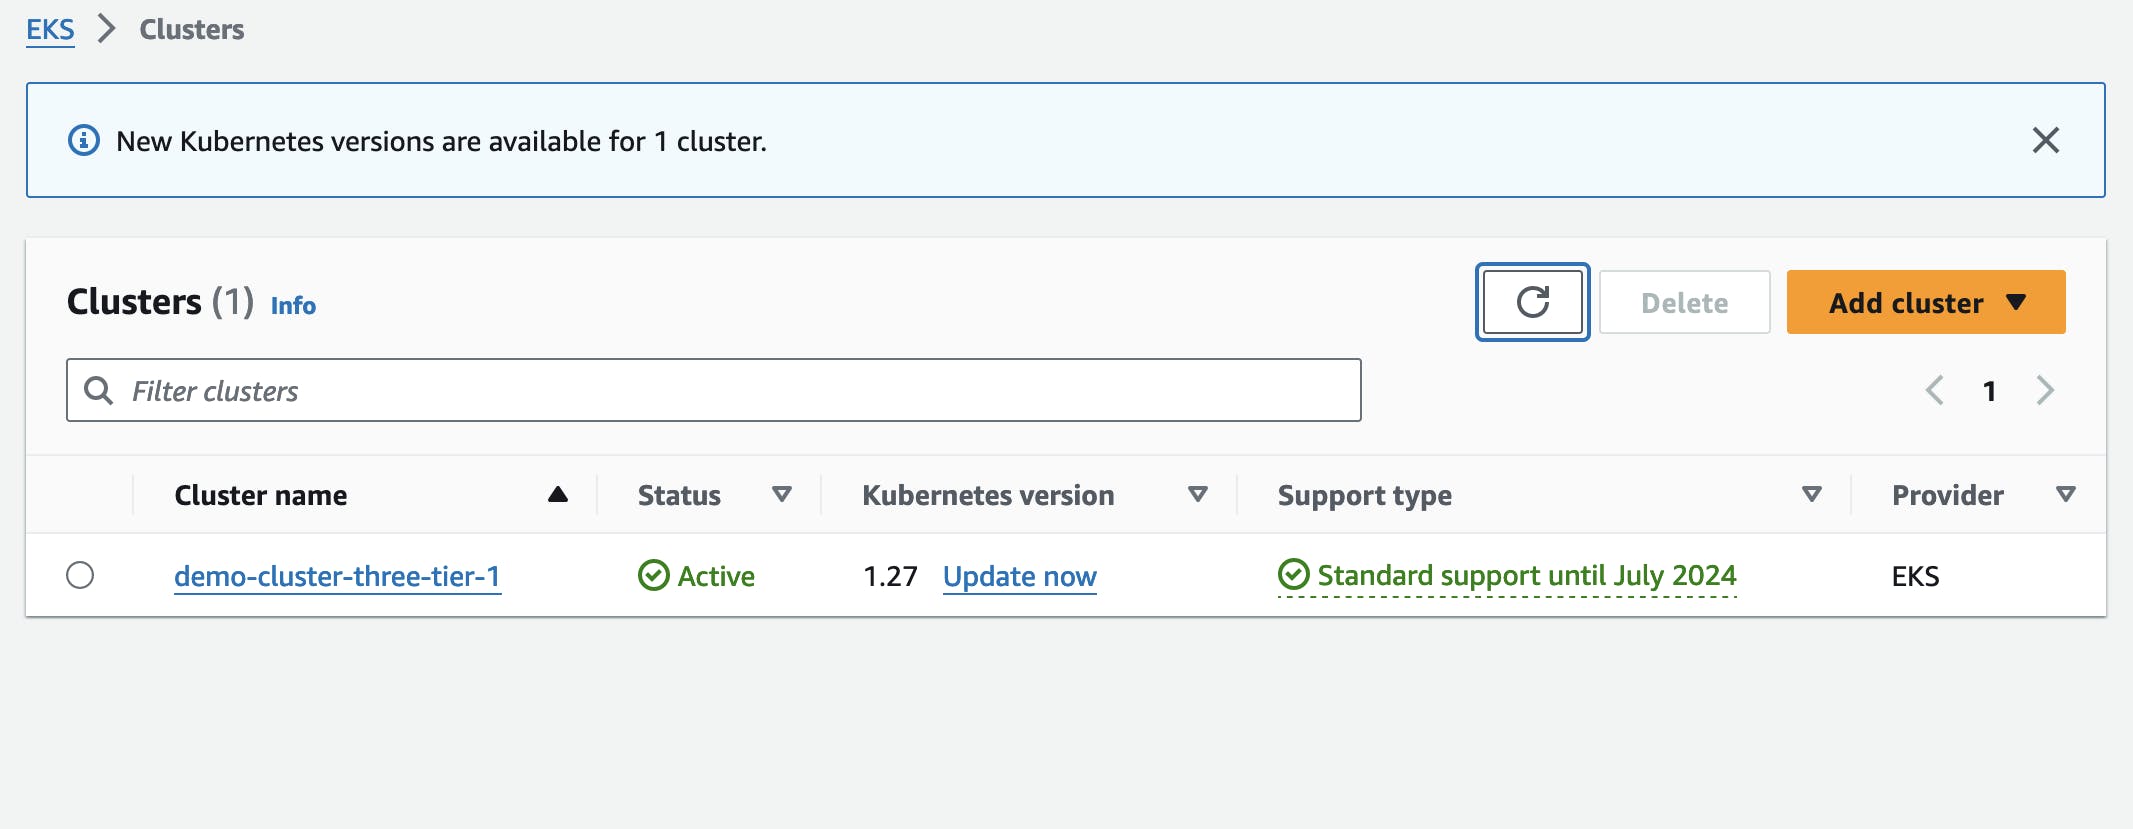
Create a Cluster:
Creating a cluster typically involves using a container orchestration platform like Kubernetes. Below are generalized steps to create a Kubernetes cluster using a tool like Amazon EKS (Elastic Kubernetes Service).
  # Create an Amazon EKS cluster named 'demo-cluster-three-tier-1' in the 'us-east-1' region
  eksctl create cluster --name demo-cluster-three-tier-1 --region us-east-1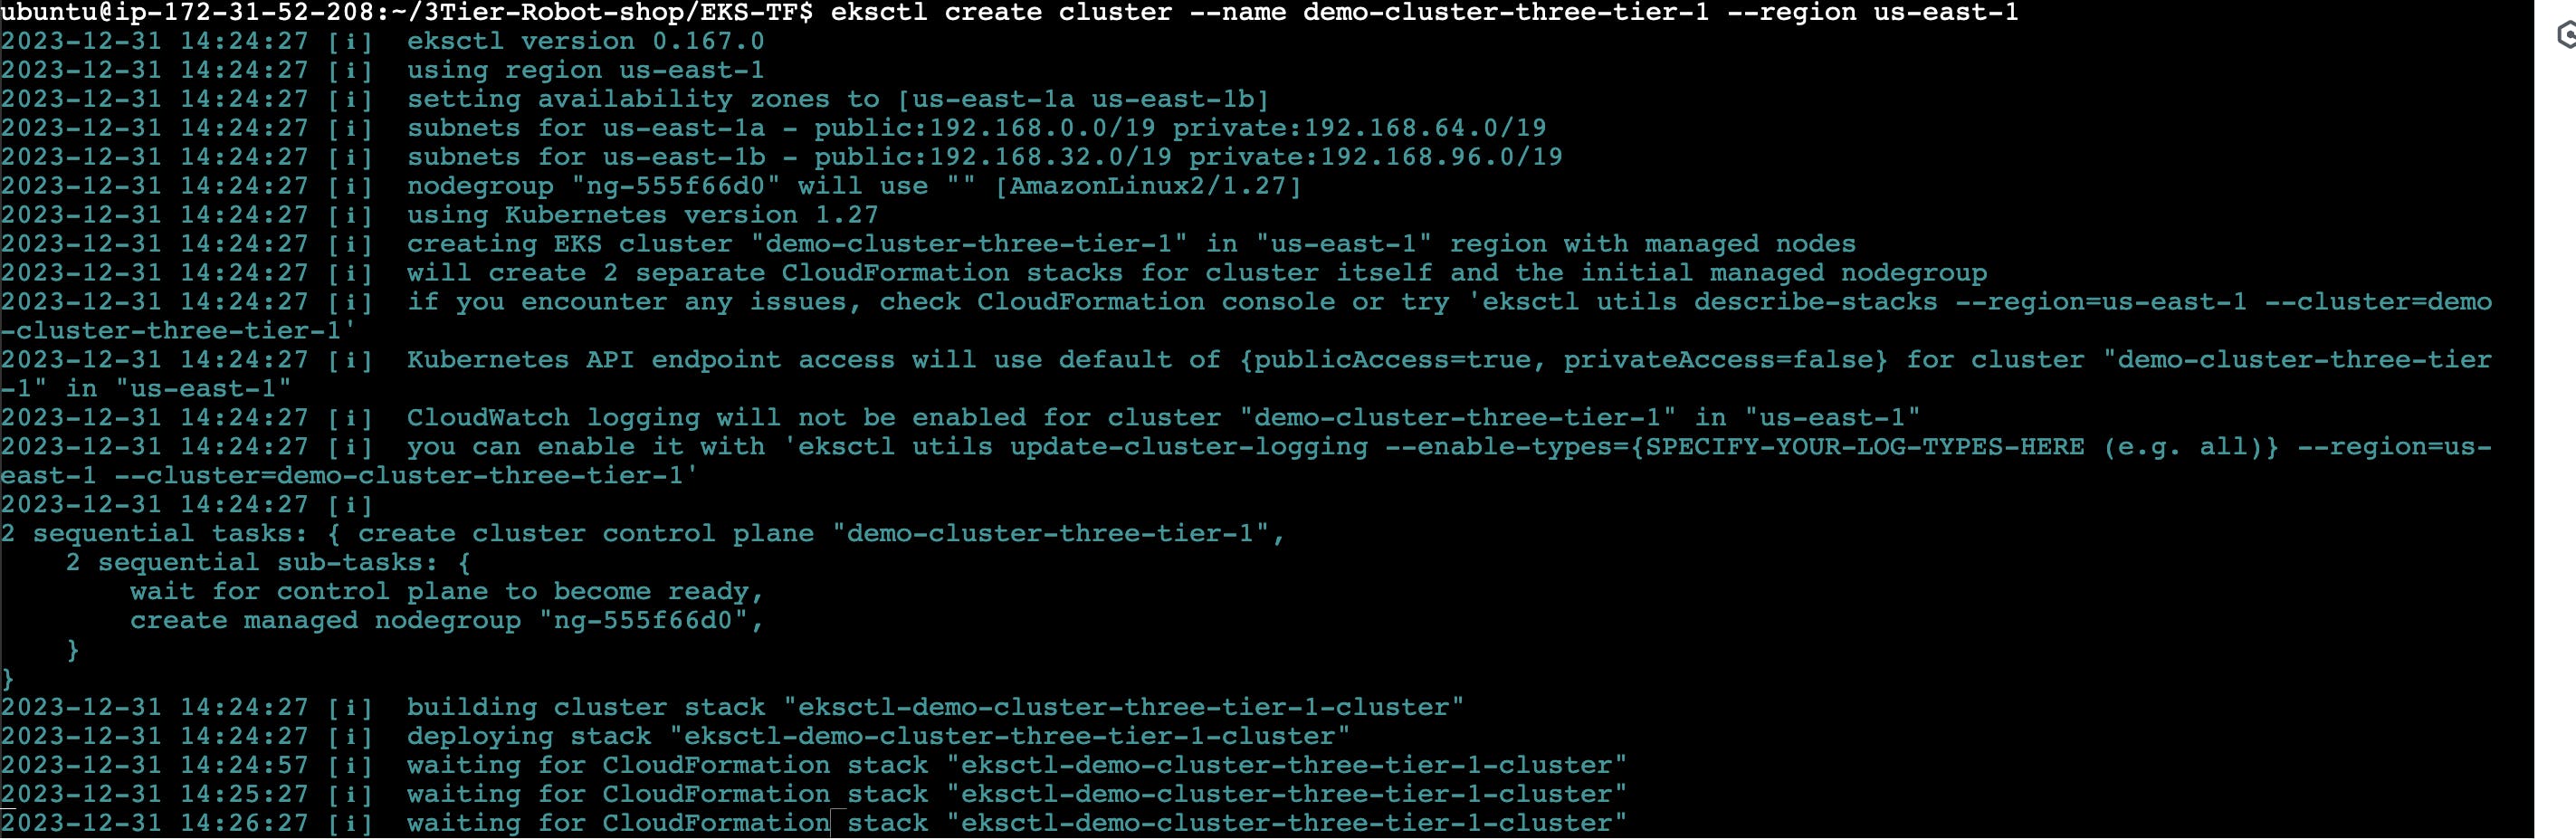
Configure IAM OIDC provider:
Configuring an IAM OIDC (OpenID Connect) provider involves a series of steps. Here are the general steps to configure IAM OIDC provider in AWS.
  # Set the cluster_name environment variable
  export cluster_name=<CLUSTER-NAME>

  # Fetch the OIDC issuer URL for the EKS cluster
  oidc_id=$(aws eks describe-cluster --name $cluster_name --query "cluster.identity.oidc.issuer" --output text | cut -d '/' -f 5)

  # List OpenID Connect providers and extract the provider's ARN
  aws iam list-open-id-connect-providers | grep $oidc_id | cut -d "/" -f4

  # Associate the IAM OIDC provider with the EKS cluster
  eksctl utils associate-iam-oidc-provider --cluster $cluster_name --approve
Install the AWS Load Balancer:
The IAM policy is used to grant necessary permissions to the service account associated with the AWS Load Balancer Controller.
  # Download the IAM policy JSON file for the AWS Load Balancer Controller
  curl -O https://raw.githubusercontent.com/kubernetes-sigs/aws-load-balancer-controller/v2.5.4/docs/install/iam_policy.json
Create IAM Policy:
  # Create an IAM policy named "AWSLoadBalancerControllerIAMPolicy" using the specified JSON file
  aws iam create-policy \
      --policy-name AWSLoadBalancerControllerIAMPolicy \
      --policy-document file://iam_policy.json
Create an IAM role for the AWS Load Balancer Controller.
  # Create an IAM service account for the AWS Load Balancer Controller in the kube-system namespace
  eksctl create iamserviceaccount \
      --cluster=<your-cluster-name> \
      --namespace=kube-system \
      --name=aws-load-balancer-controller \
      --role-name AWSLoadBalancerControllerIAMRole \
      --attach-policy-arn=arn:aws:iam::<your-aws-account-id>:policy/AWSLoadBalancerControllerIAMPolicy \
      --approve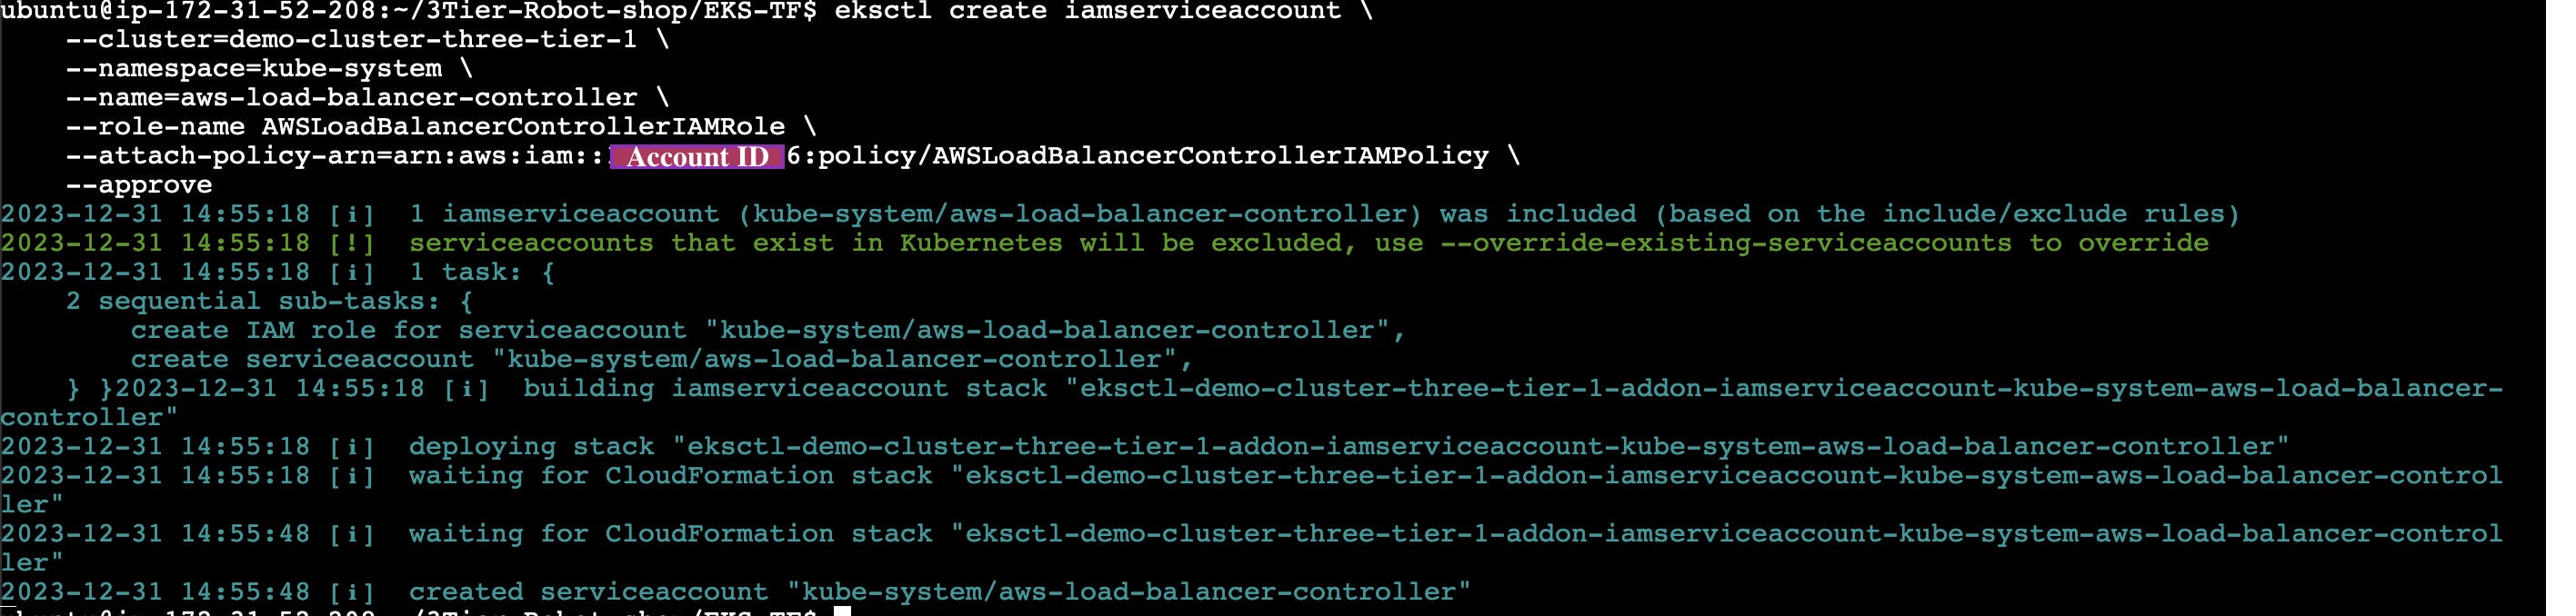
Add the AWS Load Balancer Controller Helm chart repository:
  # Add the AWS EKS Helm chart repository
  helm repo add eks https://aws.github.io/eks-charts

  # Update the Helm repositories to get the latest charts
  helm repo update eks
Update the VPC ID.
  # Install the AWS Load Balancer Controller using Helm
  helm install aws-load-balancer-controller eks/aws-load-balancer-controller -n kube-system --set clusterName=demo-cluster-three-tier-1 --set serviceAccount.create=false --set serviceAccount.name=aws-load-balancer-controller --set region=us-east-1 --set vpcId=<vpc-id>

  # Check the deployment status of the AWS Load Balancer Controller
  kubectl get deployment -n kube-system aws-load-balancer-controller
EBS CSI Plugin configuration:
The IAM policy is used to grant necessary permissions to the service account associated with the AWS Load Balancer Controller.
  # Create an IAM service account for EBS CSI controller in kube-system namespace
  # Replace placeholders like <YOUR-CLUSTER-NAME> and AmazonEKS_EBS_CSI_DriverRole with your specific values
  eksctl create iamserviceaccount \
      --name ebs-csi-controller-sa \
      --namespace kube-system \
      --cluster <YOUR-CLUSTER-NAME> \
      --role-name AmazonEKS_EBS_CSI_DriverRole \
      --role-only \
      --attach-policy-arn arn:aws:iam::aws:policy/service-role/AmazonEBSCSIDriverPolicy \
      --approve
eksctl create addon --name aws-ebs-csi-driver --cluster <YOUR-CLUSTER-NAME> --service-account-role-arn arn:aws:iam::<AWS-ACCOUNT-ID>:role/AmazonEKS_EBS_CSI_DriverRole --force
helm and create a namespace:
The IAM policy is used to grant necessary permissions to the service account associated with the AWS Load Balancer Controller.
  cd helm
  kubectl create ns robot-shop
helm install robot-shop --namespace robot-shop .
kubectl get pods -n robot-shop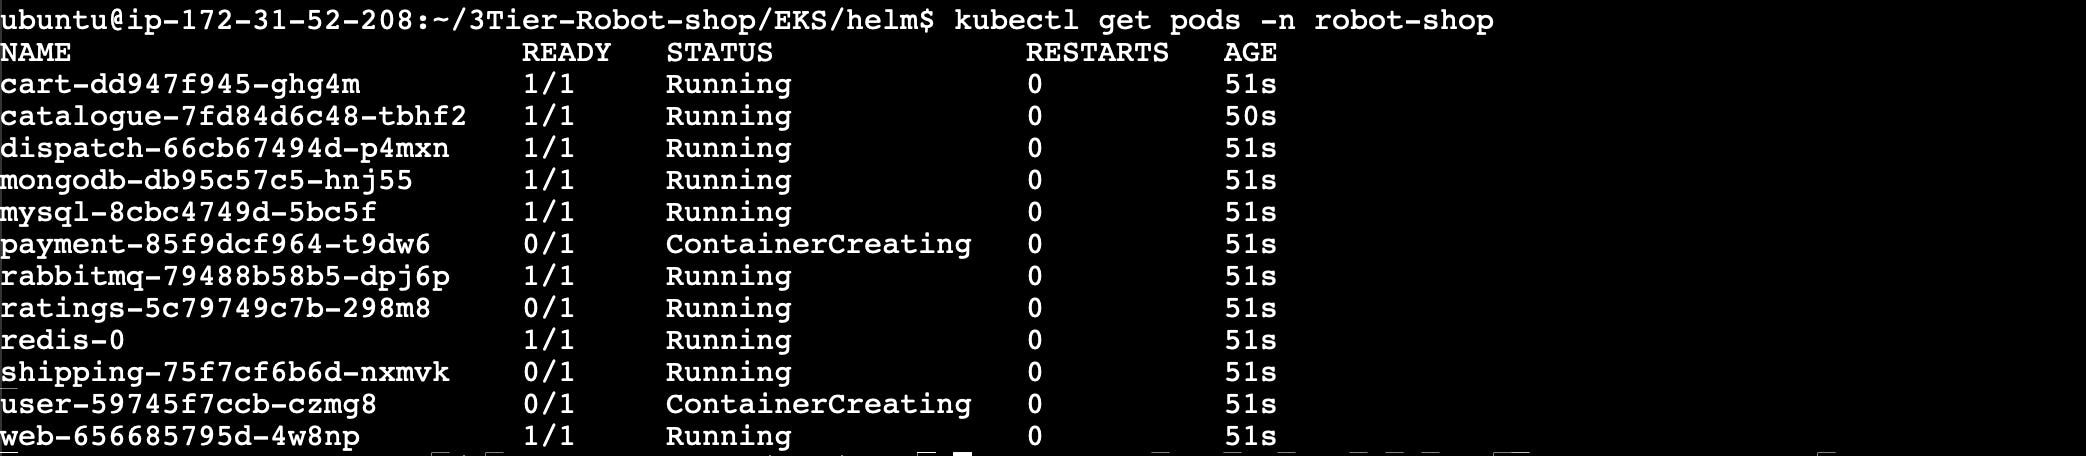
kubectl get svc -n robot-shop
kubectl apply -f ingress.yaml
Now, go to the AWS console, search for EC2, and navigate to Load Balancers.
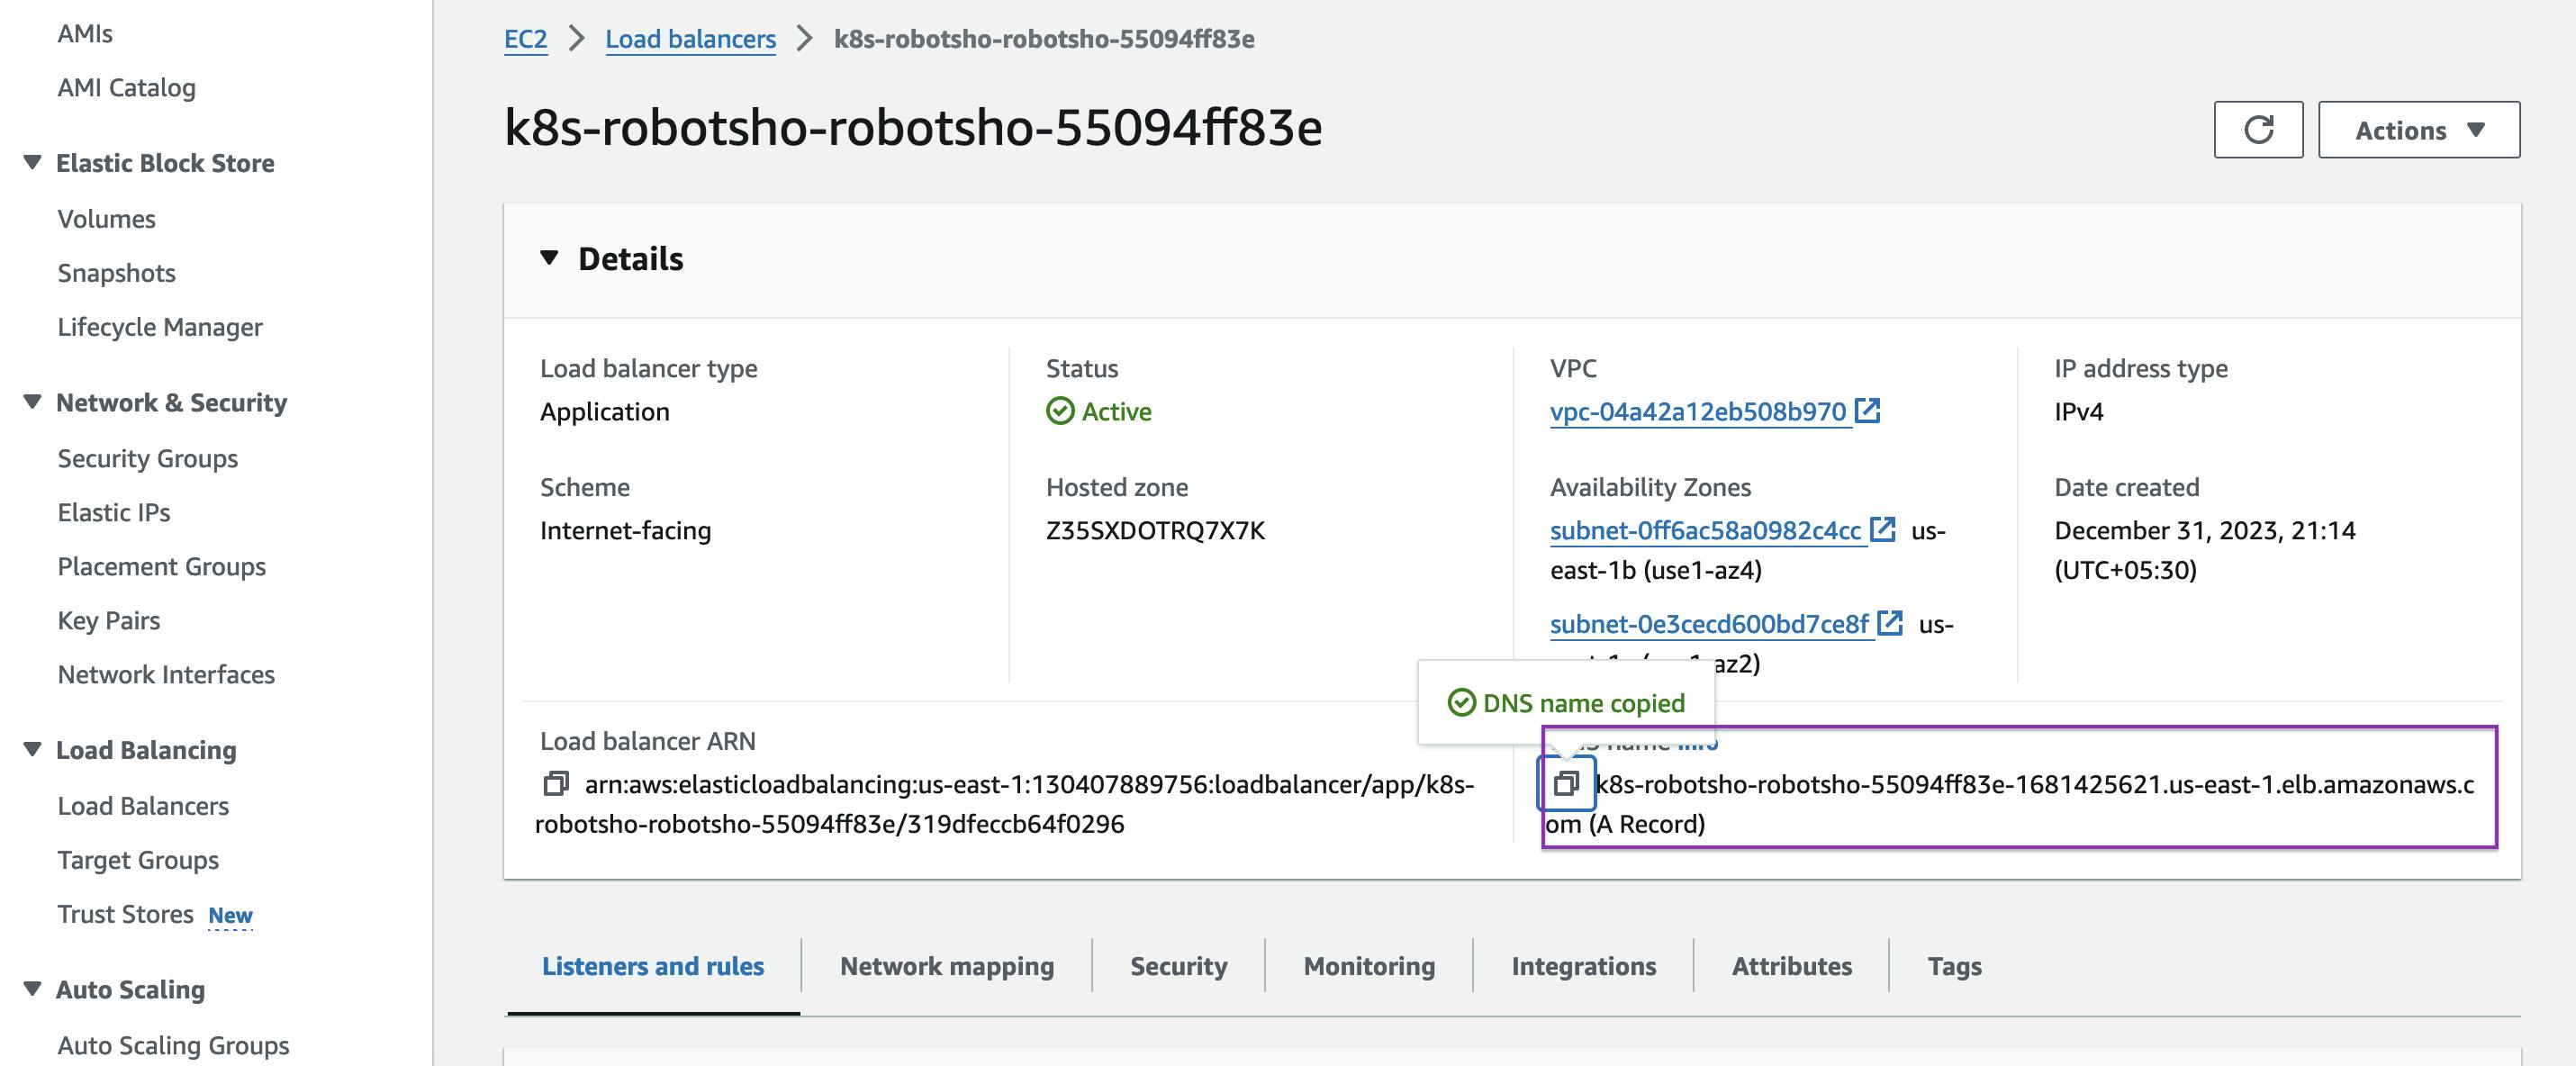
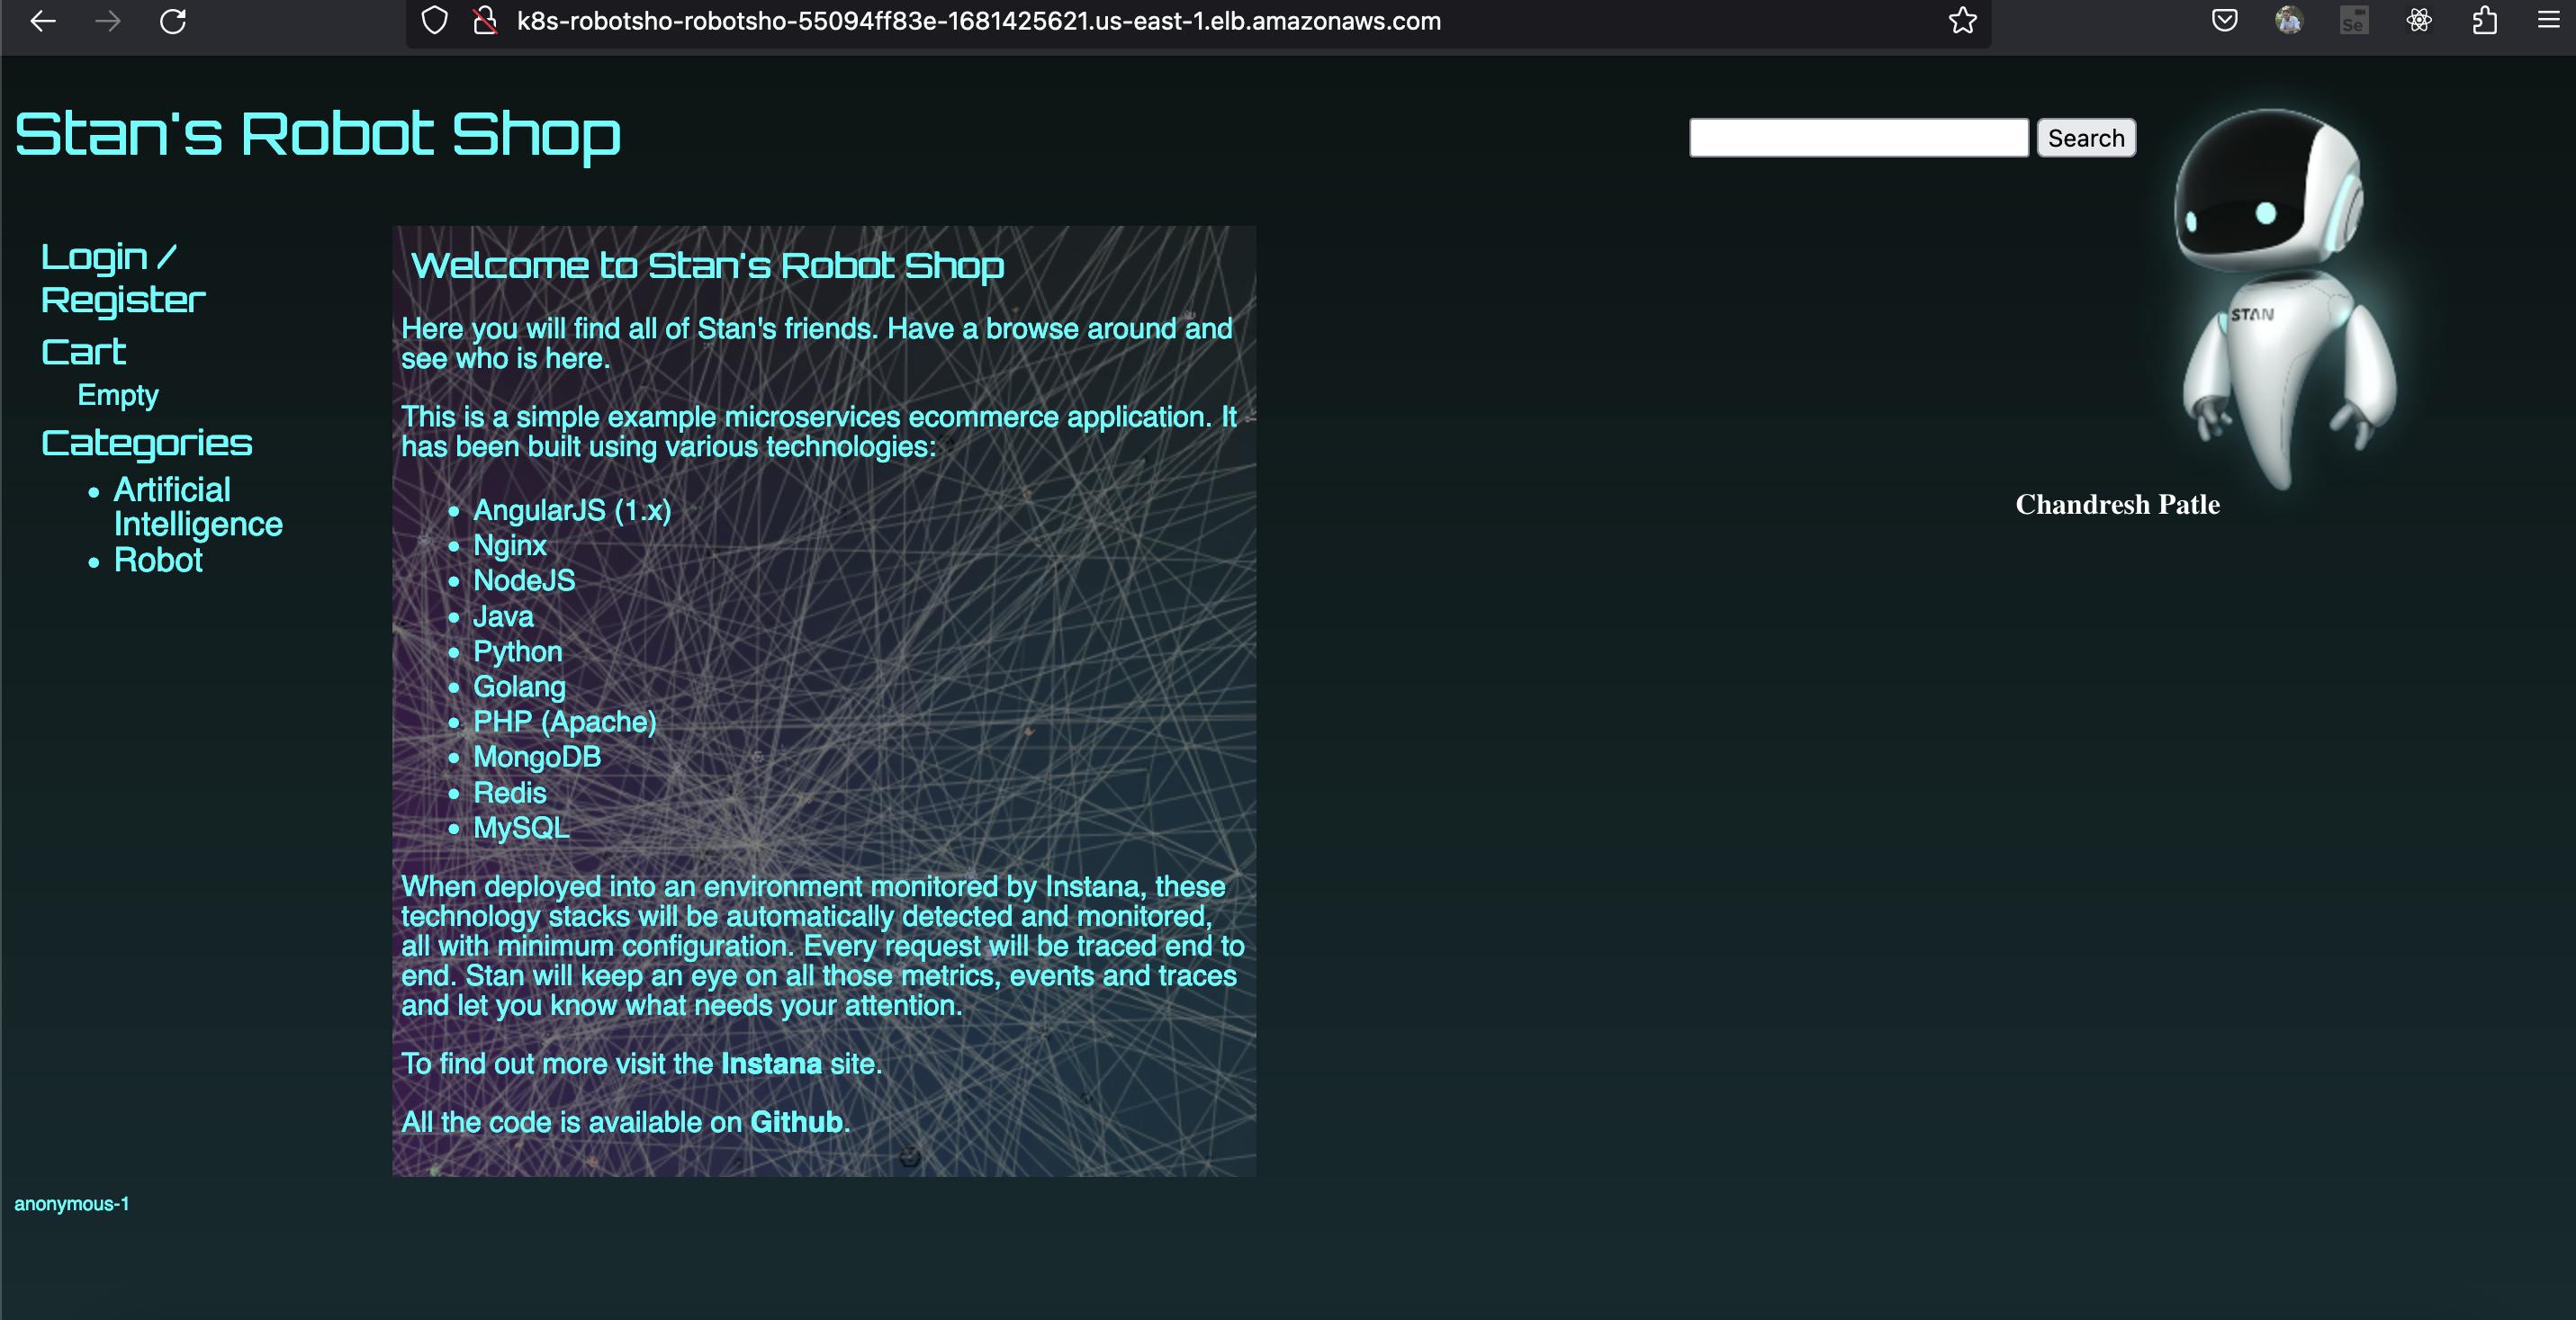
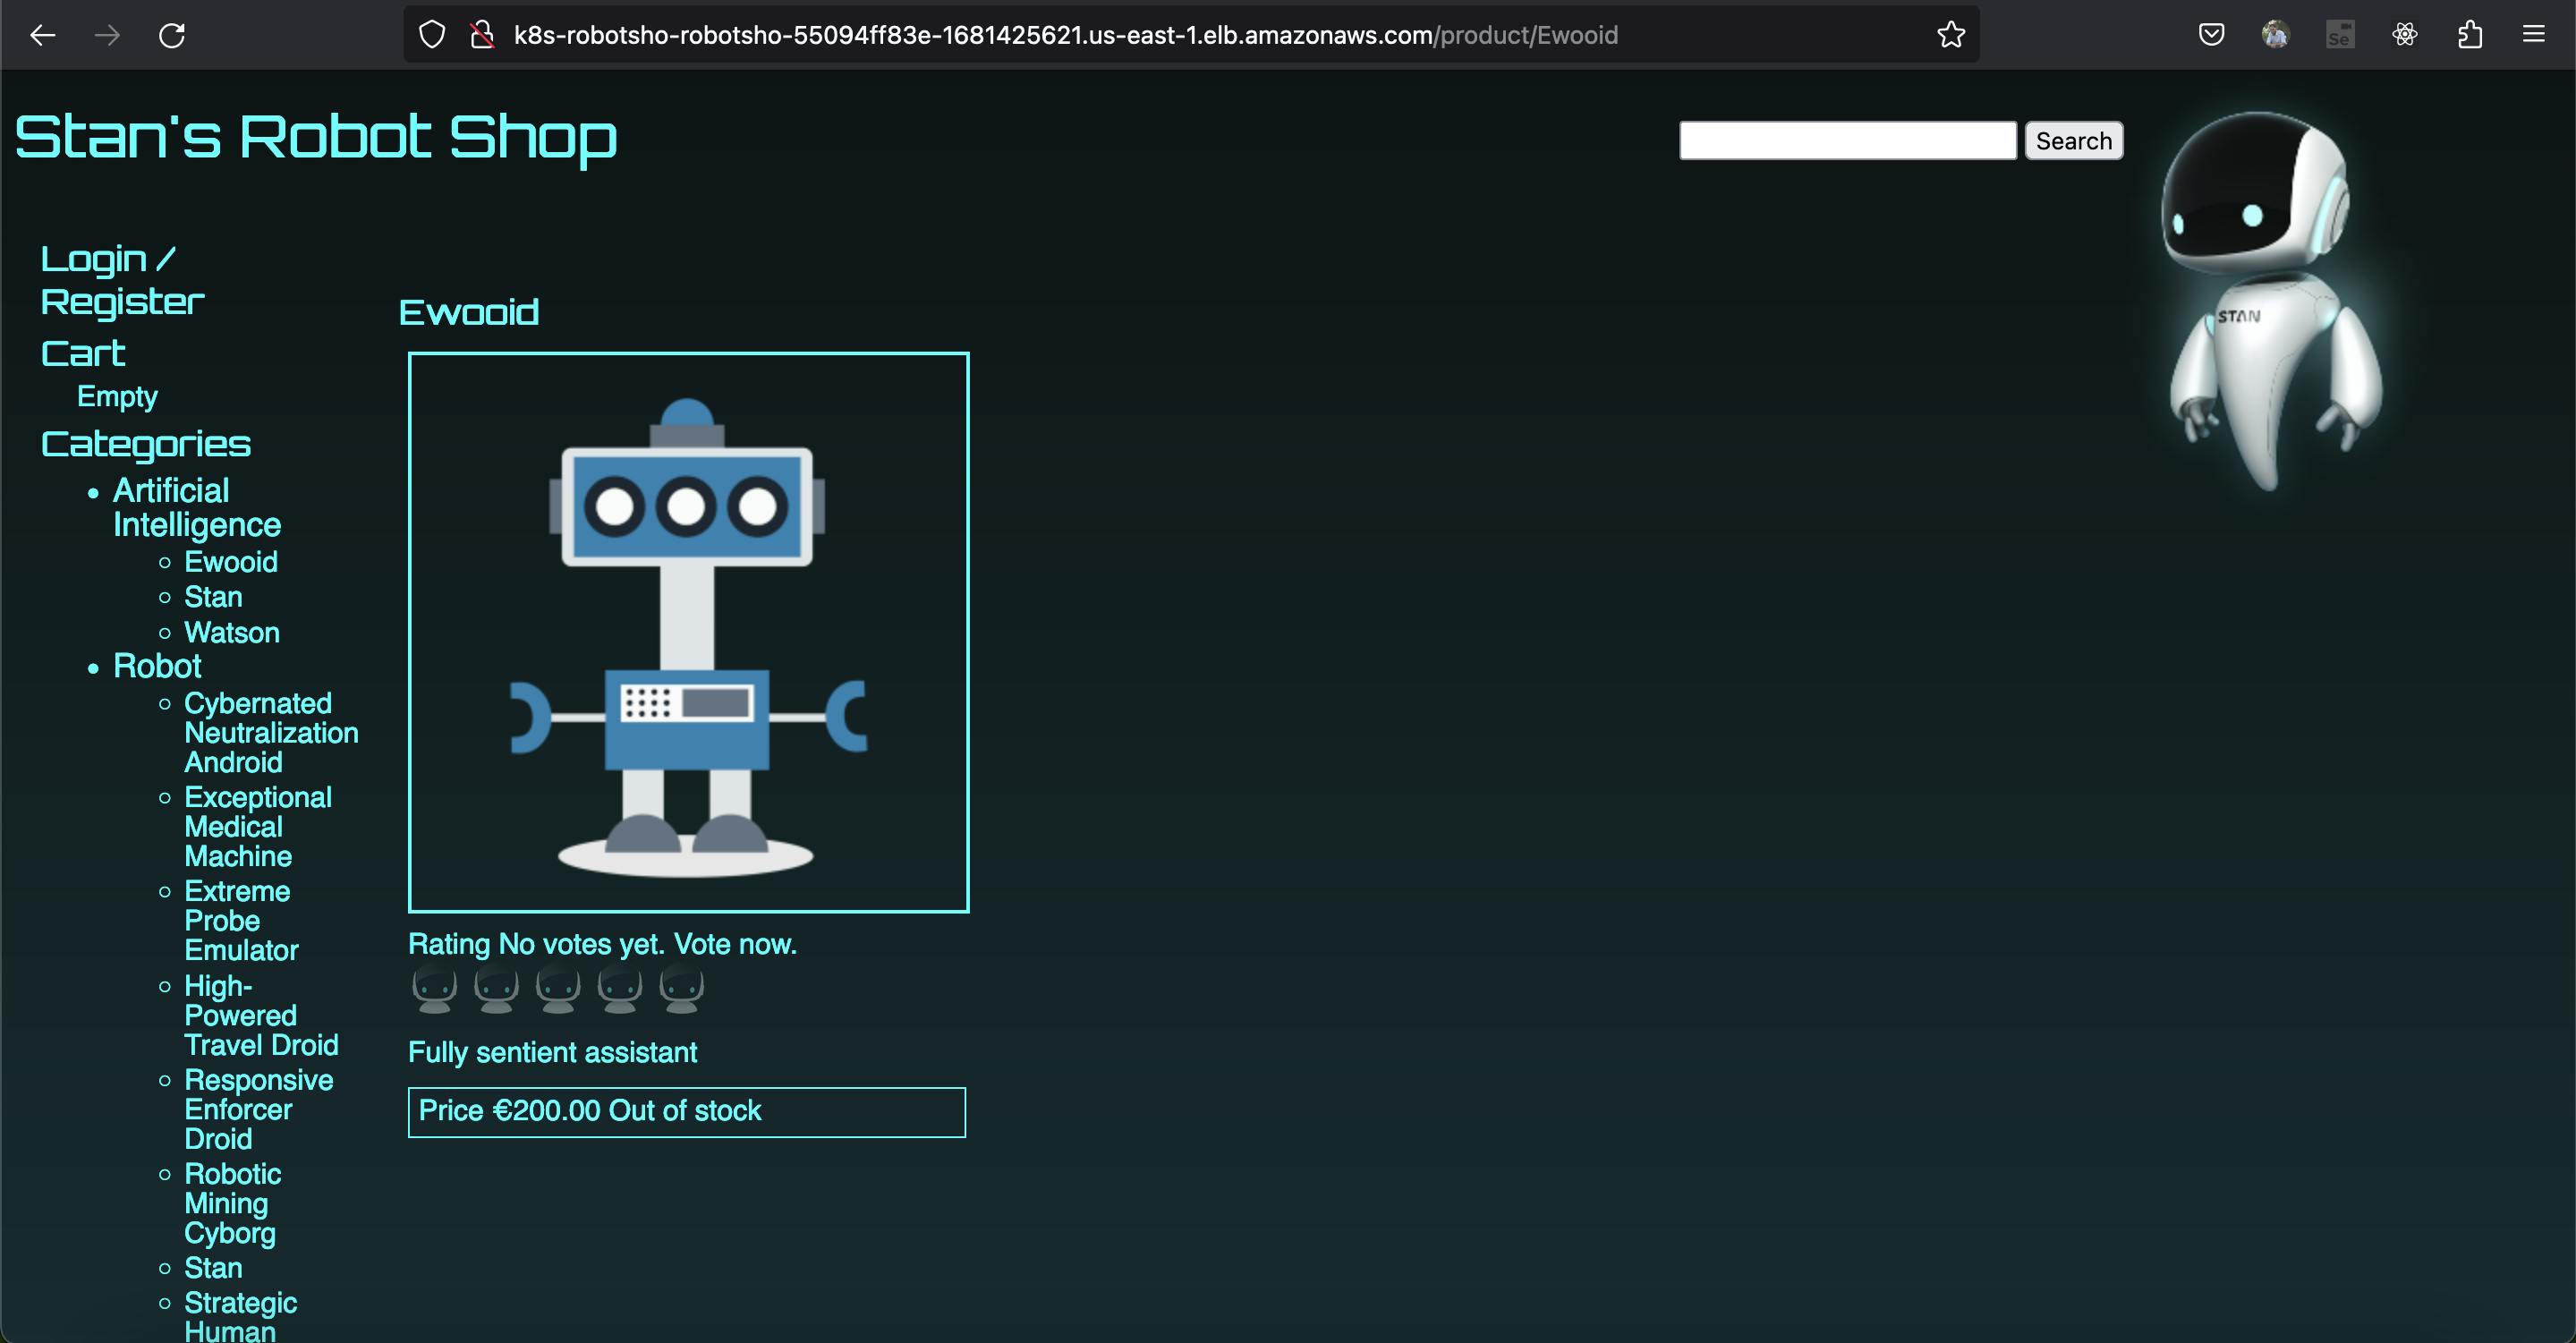
Now check the application by using the dns link:
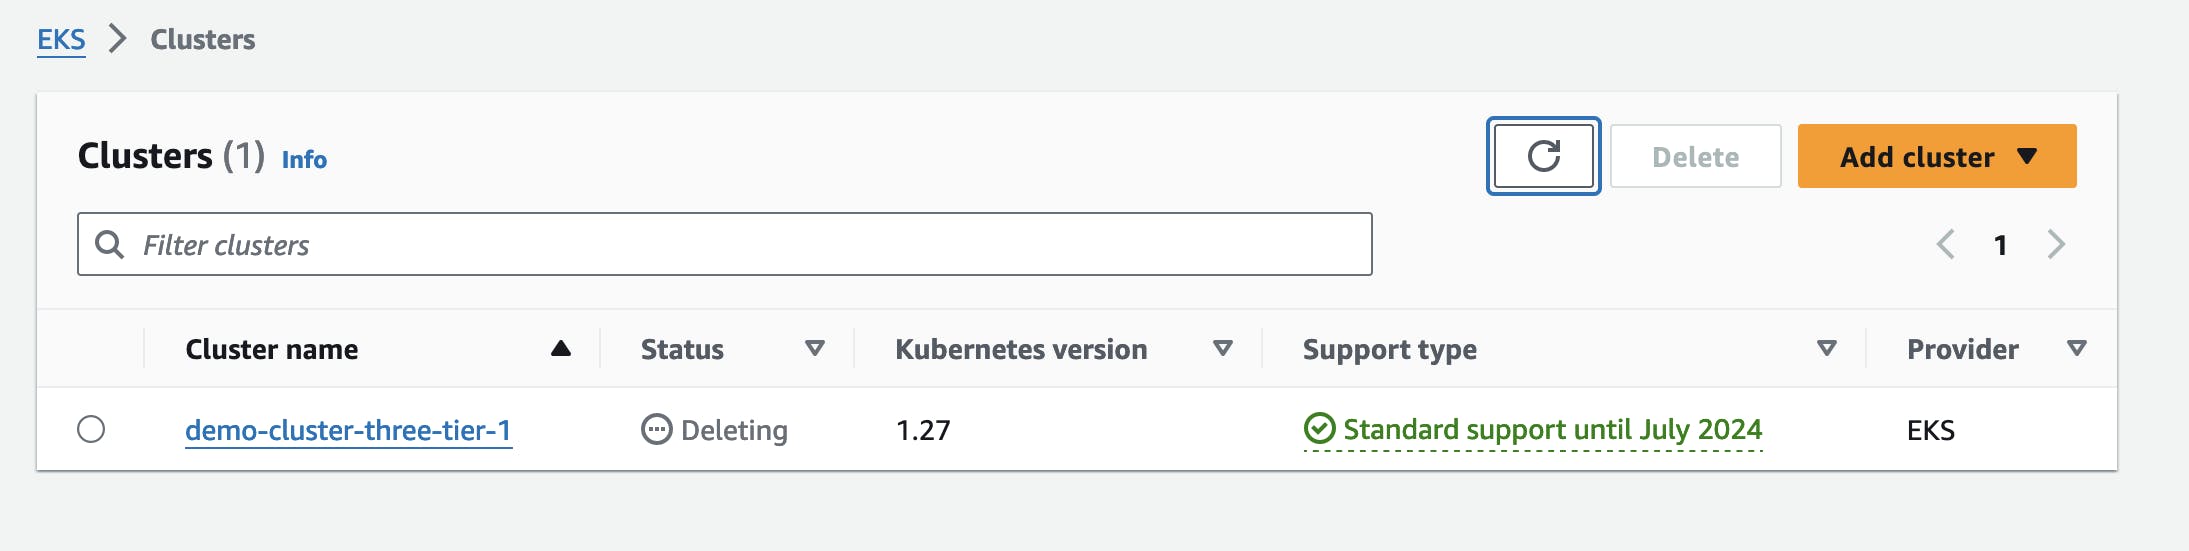
To Delete Cluster:
eksctl delete cluster --name demo-cluster-three-tier-1 --region us-east-1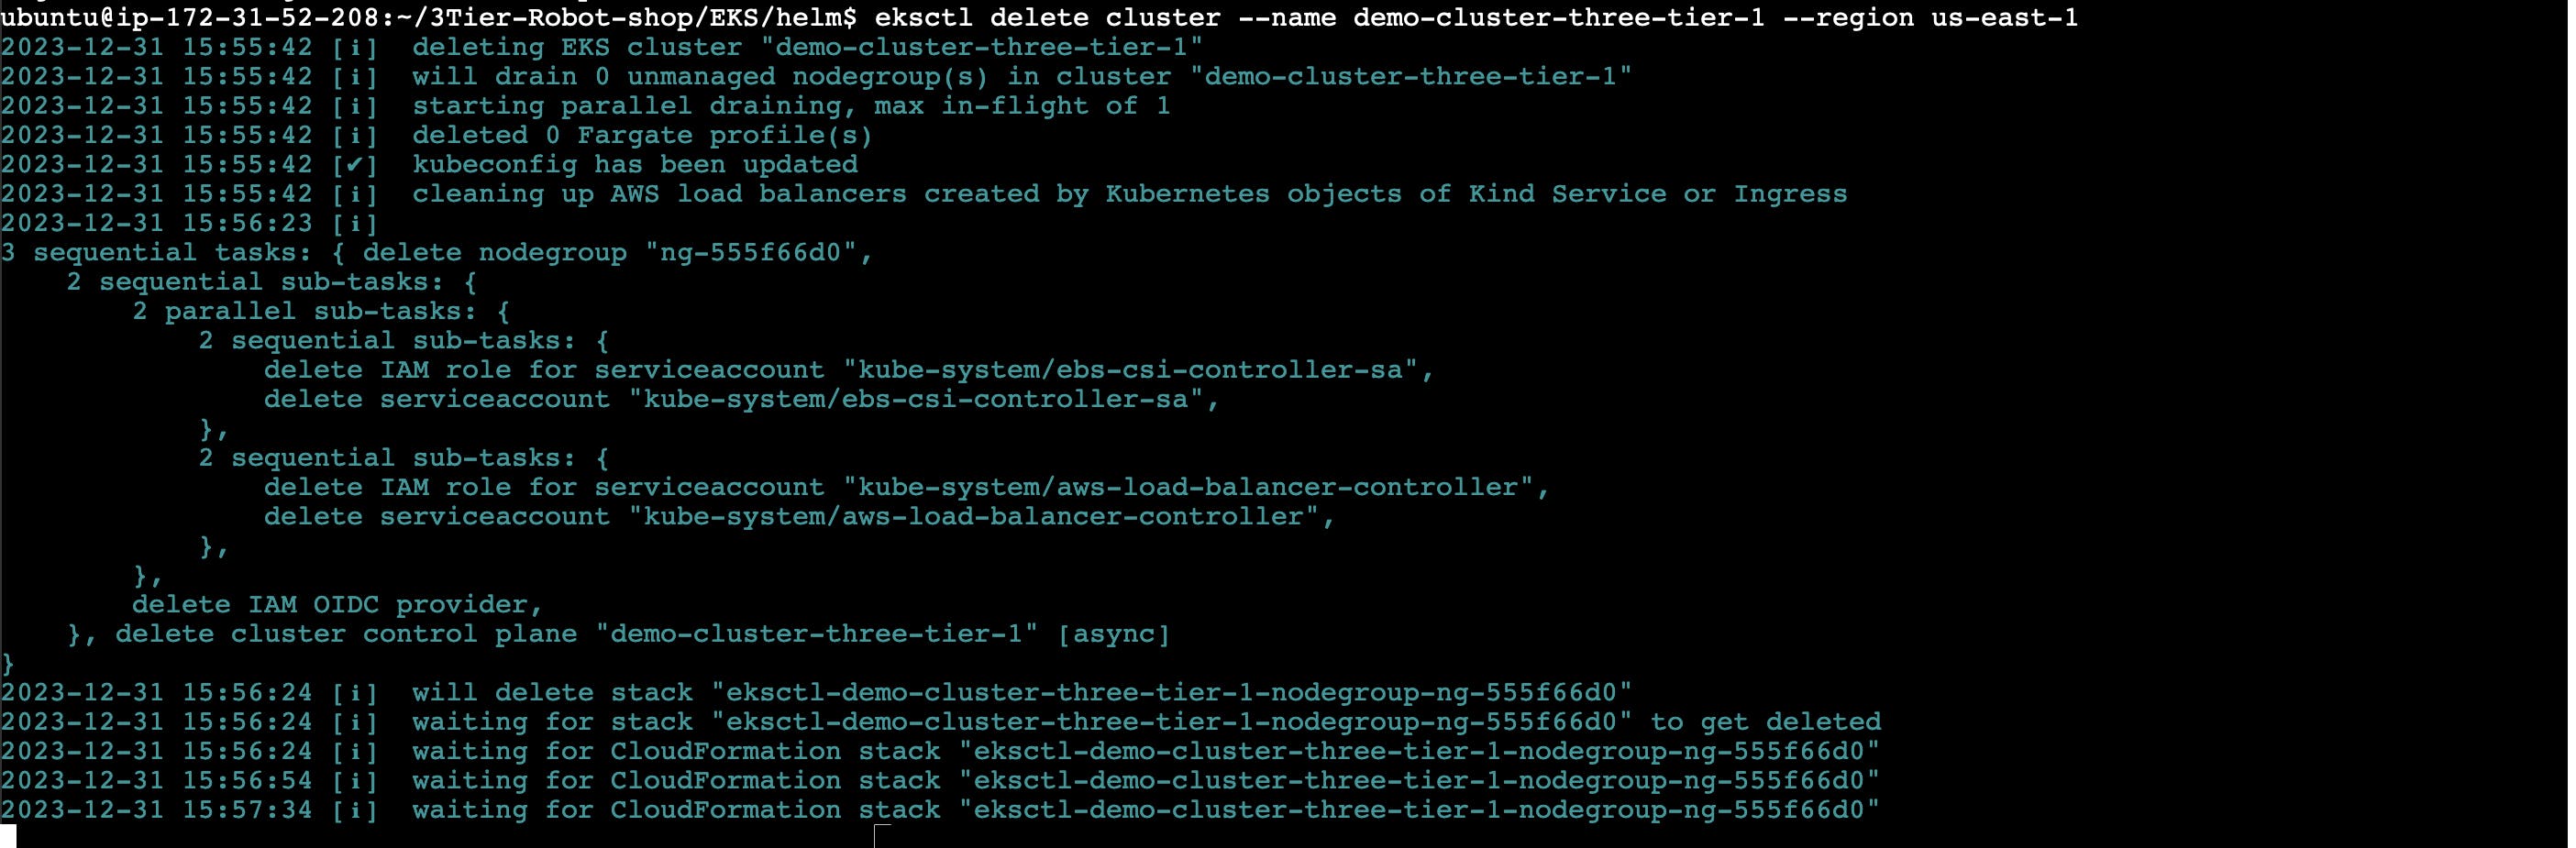
Conclusion
In conclusion, the implementation of an E-commerce Robot Shop using a three-tier architecture on AWS offers a robust and scalable solution for building and deploying a modern e-commerce platform. This project leverages various AWS services and tools, emphasizing best practices for cloud-native application development. Here are key takeaways from the project:
1. Architecture Overview
The three-tier architecture—comprising the presentation layer, application layer, and data layer—provides a structured and modular design. This separation of concerns enhances scalability, maintainability, and flexibility in adapting to evolving business requirements.
2. AWS Services Utilized
EC2 Instances: Used for hosting the application services and providing scalable compute resources.
Amazon EKS (Elastic Kubernetes Service): A managed Kubernetes service simplifying the deployment, scaling, and management of containerized applications.
IAM (Identity and Access Management): Ensures secure access control and permissions for AWS resources.
AWS Load Balancer Controller: Manages and distributes incoming application traffic, enhancing availability and fault tolerance.
EBS CSI Driver: Facilitates seamless integration with Amazon Elastic Block Store (EBS) for persistent storage needs.
Helm: A package manager for Kubernetes, streamlining the deployment and management of applications.
3. Deployment Process
The deployment process involves creating EC2 instances, setting up an EKS cluster, configuring IAM roles and policies, installing Helm charts, and integrating with AWS services. The step-by-step guide ensures a structured and reproducible deployment.
4. Verification and Monitoring
The project emphasizes the importance of verification and monitoring. Checking the deployment status, validating IAM configurations, and using Helm for application deployment contribute to a robust verification process. Additionally, monitoring tools and AWS console verification enhance visibility into the system's health.
5. Cleanup and Deletion
Provisioning resources on the cloud comes with associated costs. The project includes instructions for deleting the cluster and associated resources, promoting cost-effectiveness and resource optimization.
6. Future Considerations
As technologies evolve, future considerations may include adopting serverless architectures, exploring AWS managed services for databases, and incorporating additional security measures. Continuous monitoring and regular updates to services and dependencies are essential for a resilient and secure e-commerce platform.
In summary, the E-commerce Robot Shop project showcases the power of AWS services and best practices in architecting, deploying, and managing a three-tier application. This structured approach sets the foundation for a scalable and efficient e-commerce solution, ready to adapt to the dynamic demands of the digital marketplace.
Note: I am following Abhishek Verraamalla's YouTube Video for learning.
GitHub Repo: https://github.com/Chandreshpatle28/three-tier-architecture-demo.git
Happy Learning :)
Stay in the loop with my latest insights and articles on cloud ☁️ and DevOps ♾️ by following me on Hashnode, LinkedIn (https://www.linkedin.com/in/chandreshpatle28/), and GitHub (https://github.com/Chandreshpatle28).
Thank you for reading! Your support means the world to me. Let's keep learning, growing, and making a positive impact in the tech world together.
#Git #Linux Devops #Devopscommunity #PythonforDevOps #python